When you see your picture what do you think? You recall that special moment which was captured into the camera on that extraordinary day. We human loves to freeze our special moments and wants to live in that moment forever.
This happens because we don’t have the power to control the time. Once it’s gone, it means it’s gone. We can’t stop it. But it’s the pictures, the images which make us feel that once again in our lives we are living in that moment.
Sometimes we also wish to change our images, to fill in colours, or it’s the background which is making the image look bad, or any other thing, we can do it on our own.
Yes! Nowadays, with the advancement in technology, we can edit our picture in any way we want. From changing the background of the image to picking up a new image with the same background, it has become easy for us to edit.
Before we get into the steps to change the background of an image, we must learn about the background and some photography ethics. Have you ever questioned yourself why do photographers always focus on the background of the image?
It’s because it is the background of an image which makes a photo look beautiful.
But it’s not that easy to get a photo in a classic background. For this, one must have photography skills. But don’t worry if you don’t know how to click a good picture. Many of us don’t know that.
We don’t even require to learn that because we’ve got an option to change the complete background of an image, or remove any object from the image, or outcast a person from the image. It all can be done!
The best thing is that we can do all this on our phones. If you’ve got an android phone, sit back and relax. All you got to do is follow these simple steps, and the background of your image will change.
Here Are The Steps to Remove Background From Any Image In Android:
It can be done with the help of an application. So just follow the steps.
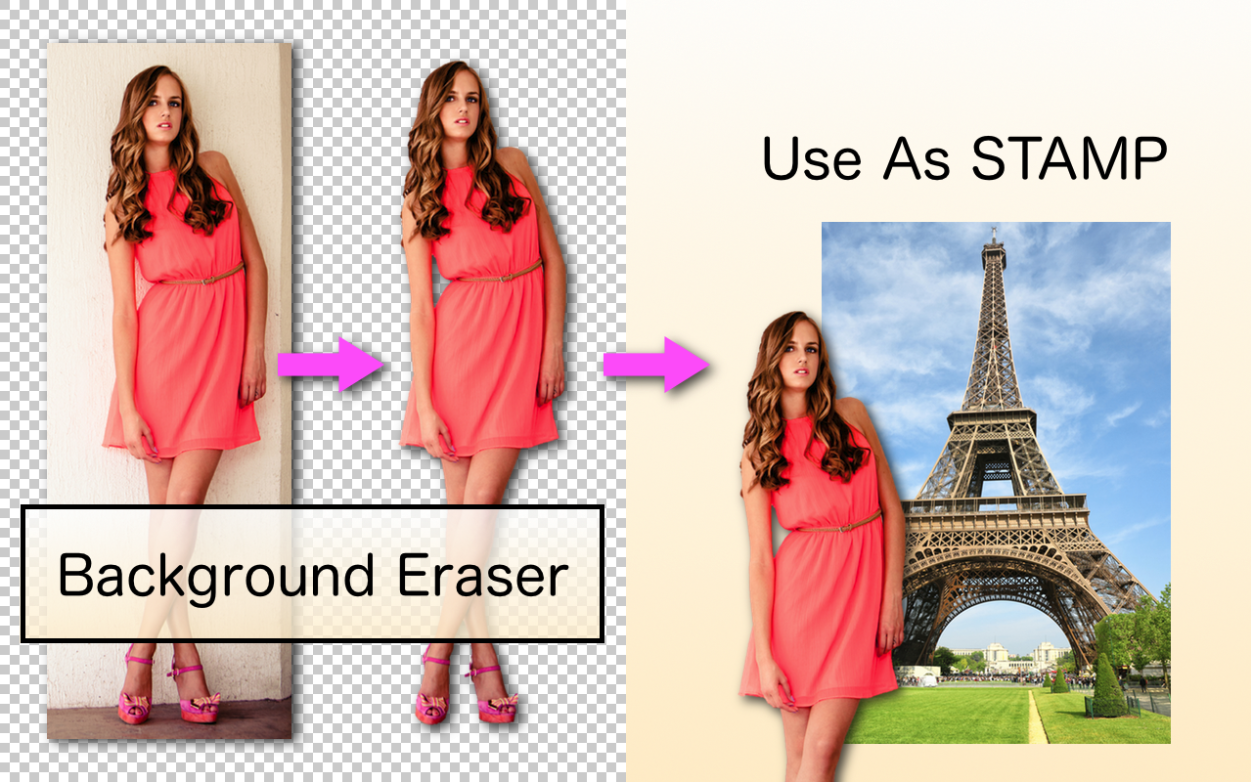
Step 1: At first, you need to download and install an app named “Background Eraser” from the Google Play Store.
Use: This app will help you in removing the background of an image or making it transparent.
It’ll also help in cropping the image as we desire.
Step 2: After installing the app, you will get five options.
Once the application is installed on your android device you will see the options on your screen as mentioned below:
How to use– here they’ll teach you about the application. You can learn the usage of the application that how can you make the best use of it.
Troubleshooting– In case you face any problem in editing the image or saving it, later on, they’ll show you the path by giving solutions.
Report a problem, Ask– In case, you’re stuck somewhere or have got some issue, you can send them a mail.
Share– Once you’ve learned about how to use the app, you can edit images and can share it to the world on the app.
Load a photo– Here’s the last option, where you can select an image from your phone’s gallery to edit.
Step 3: Once you’ve selected the image, remove and cut out the focused part of the image. But be very attentive when doing this because a mistake will force you to do it all again.
Step 4: In case you make a mistake, just select on the “eraser” and repair the damage you’ve made. There’s another option of “Auto” and “Manual” to shape the background of your image with perfection.
Step 5: Once you’re done with the editing and cropping, click on ‘Done.’
Step 6: Now you’ll get the option to make the image look more perfect by smoothening its background. You can do this on a scale of 0 to 5.
Step 7: Now when you’re satisfied with all the work done, you can “Save” the image with all new background.
This way with the help of this app you can easily edit and remove the background of an image in Android phone.
If this article was helpful, then share it on social media and let others make their captured moments look more beautiful than ever.

Leave a Reply